
With the Inpersona and Helo Health Devices, now you are ready for your Health Data. Not to mention the ability to create a better life.
Here is a quick overview!
Steps to Take to Get Started:
Below are Three Steps to Start with the Web 3.0 and Blockchain Solution for Health and Medical Data:

Start by downloading the Free Inpersona App from the Apple iStore or Google Play Store:
You will need this App to join and be connected to the Web 3.0 and Blockchain Solutions this provides.
Get it on Apple Here: OR Get it on Google Play Here:

Once you have the App, just set up a New Account after you “Run” or “Open” the app.
Set up your account. However, from here you will need an “INVITE CODE” which is available from us.
GET YOUR INVITATION CODE for INPERSONA AND HELO:
In order to get your CODE YOU MUST CONTACT US!
Please remember you will need to CONTACT US! As a result, we will get more help to you!
Be sure to CONTACT US for your CODE! Just EMAIL Us (Register to the Right).

Now set up your Crypto Wallet in the Inpersona App.
As a result, this will create the Wallet to which your Rewards as paid out in USDV tokens will be held. By the way, This is CASH FOLKS. Yes, this is AWESOME!
4 Simple Steps. That includes setting up your passphrases (for securing your Wallet) so be ready to take notes.
The 3 Options for Setting up Your Wallet
OPTION 1 (SET UP YOUR NEW WALLET) This is what you want to do.
Options 2 and 3 involve importing your existing wallets. However, we recommend setting up a new wallet for everyone we work with.
Select your Level of NFT. And this is where the explanation is. This is a Presentation on our NFT process: (A Must Watch):
Select your Level:
When you are looking at the NFT. And, you understand what and how this all works. Then the higher the NFT Level. Moreover, the more MINING and the MORE you have to Gain with this Process.
- From your Inpersona App select “GLOBE” which is on the bottom part of your Screen.
- If you use Apple you will need to type in m.inpersona.com and then hit the “GO” Button. If you use Android inpersona.com is already for you. Just hit the “Go Button”.
- This takes you to the NEXT Page. It shows you what NFTs you can get.
- Choose your NFT. In contrast, the higher the level, the better it performs in the Mining Process.
- NOTE: If you need help, please see TROUBLESHOOTING below. THIS IS NOT A TIME TO FORGET AND MOVE ON! NOW is the time to learn. This is not anything you want to miss out on.
After you have completed your Inpersona and Helo Purchase of the NFT:
- So, NOW it is time to get your Helo Device to connect to the NFT. You will see your NFT (after it is minted) on your Inpersona Home Page. NOTE: If you do not see it, you may need to change your “CHAIN” to, for instance, Vyvo Smart Chain, Polygon, or Binance Smart Chain (or others depending on where you are located).
- Inpersona will send you an email. It will have your “Free Voucher” code for your device.

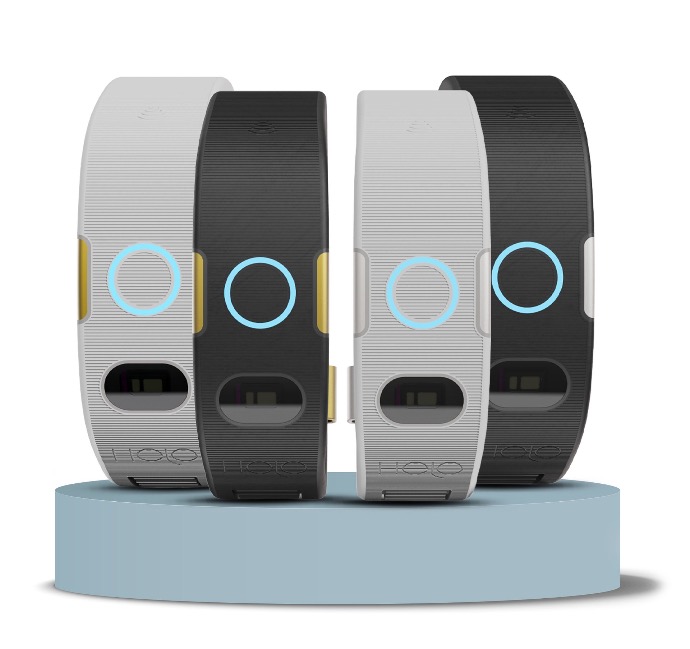
Next, It is time to get your Helo Device Activated. Once you receive the Device you will have to activate it within your App.
When ordering your Device, use PROMO CODE: INP817462427
As a result of this Code, save 10% on your Helo Device!
Then it’s wear and earn.
TROUBLESHOOTING In Inpersona and Helo:
Again, If you have any issues at all, we have a full-on team to support this. Not to mention the internal support teams with Inpersona and Helo are incredible. Submit tickets from the Inpersona APP itself even. However; by registering to the RIGHT you will be entered into our EMAIL System. As a result, you can reply directly to us at any time. Accordingly, we will promptly get in touch to help and assist you.